 In this lesson the learners learn to write humps and start to join stick and hump strokes to form the letters n, m and h. They build on their previous knowledge and skills related to letter spaces, start positions and drawing short and long sticks.
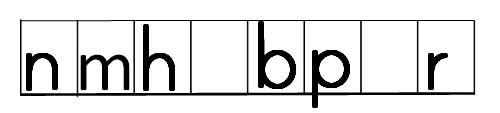
Drawing humps introduces the learners to letter strokes that are formed in a clockwise directions starting on the left hand side of the letter space - including n, m, h as well r (a hump that got stuck) and b's and p's ( humps that closed their mouths).
Starting knowledge and skills
Writing strokes in a grid
Base line and bottom half of the letter space
Writing short and long sticks
Materials:
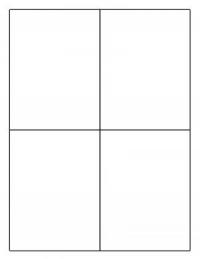
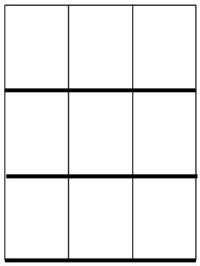
Templates: a very large grid template and at least 2 large block templates.
Example sheets: humps in a grid and hump letters in a grid.

Instructions
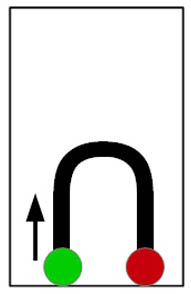
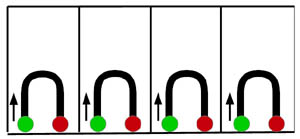
1 Start lesson by showing the learners an example of a hump. Point out that the start and end positions are close to the base line and that the hump fits into the bottom half of the letter space.
2 Show the learners examples of hump letters n, m, h. Talk about the position of the hump stroke in the letter space.
3 Demonstrate how to draw a hump in a very large block. Emphasise the direction - up, around and down. Draw the learners' attention to the sound of the movement of the pen on the paper.
4 Instruct the learners to draw four humps and then check their work. Are the humps the right size, do they rest close to the baseline? Are they too fat or too thin?
4 Check that the learners are using shoulder / elbow movements to write the humps.
5 Next practice writing humps in a large grid until the learners can produce a fairly good hump.
6 Now demonstrate how you combine a short stick and a hump to write an n. Practice writing n's.
7 You can also introduce the learners to the letters that have humps that got stuck (r) and humps that closed their mouths (b and p). Take time to look at the alphabet and identify all letters that have humps.
Notes and reminders
It will take several practice sessions before the learners have acquired the basic control for writing a hump stroke.
Remember that learning a new motor plan requires a good night's sleep for the representation to be laid down in long term memory. So do not get stuck on practising any stroke or letter over and over again in one session. Allow the learners to practice the stroke or letter 9-18 times in a seesion.
Also remember to intersperse learning a new stroke or letter with practising strokes and letters from previous lessons.
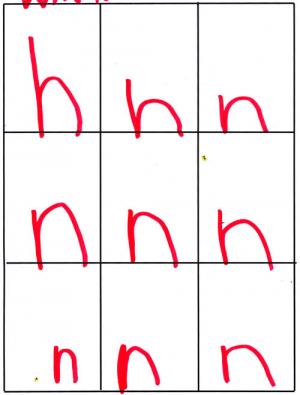
Roan practising humps and n's
Below is two practice sheets completed by Roan. Notice how the shape of the humps improves with practice. The next image illustrates the increased demands on planning and sizing two strokes when she practises writing n's.